

news
September 10, 2026
Installing a car seat correctly is essential to help the child restraint system perform as designed during sudden braking or a collision. However, car seat installation involves more than simply placing the seat in the back seat and tightening a strap. Parents need to choose the right seating position, installation method, seat orientation, recline angle, and harness adjustment for their child.
The following step-by-step car seat installation guide can help parents check their setup and avoid common installation mistakes.
Before getting started, read all of the following:
Every car seat and vehicle is designed differently. LATCH locations, Top Tether anchor points, lower-anchor limits, and seat belt routing may vary.
Do not assume that one installation method works for every car seat or every vehicle.
Parents should also determine which type of child restraint their child is currently using:
| Car Seat Type | Typical Position | How the Child Is Restrained |
| Rear-facing car seat | Faces the rear of the vehicle | Car seat harness |
| Forward-facing car seat | Faces the front of the vehicle | Harness + Top Tether when required |
| Booster seat | Faces the front of the vehicle | Vehicle’s 3-point seat belt |
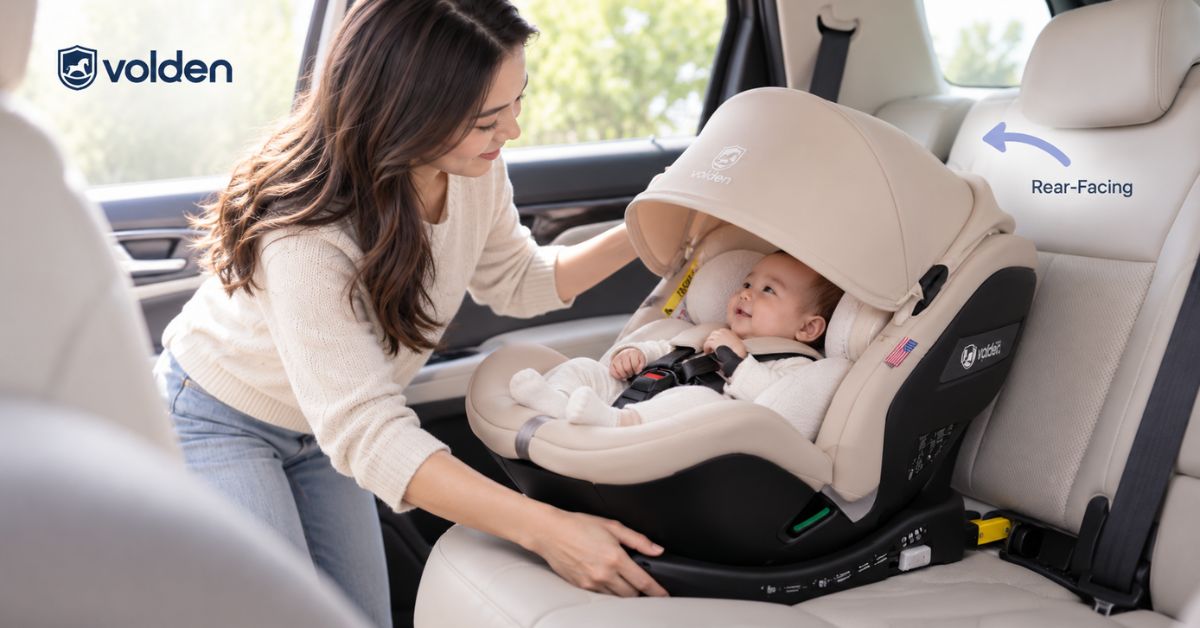
In most cases, a car seat should be installed in the back seat rather than in the front passenger seat.
Do not automatically assume that the center seat is always the best option. The right seating position is one where:
Never place a rear-facing car seat in front of an active air bag.
In the United States, many car seats can be secured using one of two installation methods:
Either method can provide a secure installation when allowed by the car seat and vehicle manufacturers.
One common car seat installation mistake is using both the lower anchors and the vehicle seat belt at the same time because it may seem more secure. Do not use both methods together unless both the car seat manufacturer and vehicle manufacturer specifically allow it.
Lower anchors also have weight limits. Once the child or combined car seat-and-child weight exceeds the specified limit, parents may need to switch to a seat belt installation.
The correct orientation depends on the car seat type, the child’s height and weight, and the manufacturer’s limits.
Do not move a child to forward-facing based on age alone. Always check the specific height and weight limits of the car seat.
Many car seats have different belt paths for rear-facing and forward-facing installation.
Parents should:
Using the wrong belt path may make the seat appear secure while preventing it from performing as intended.
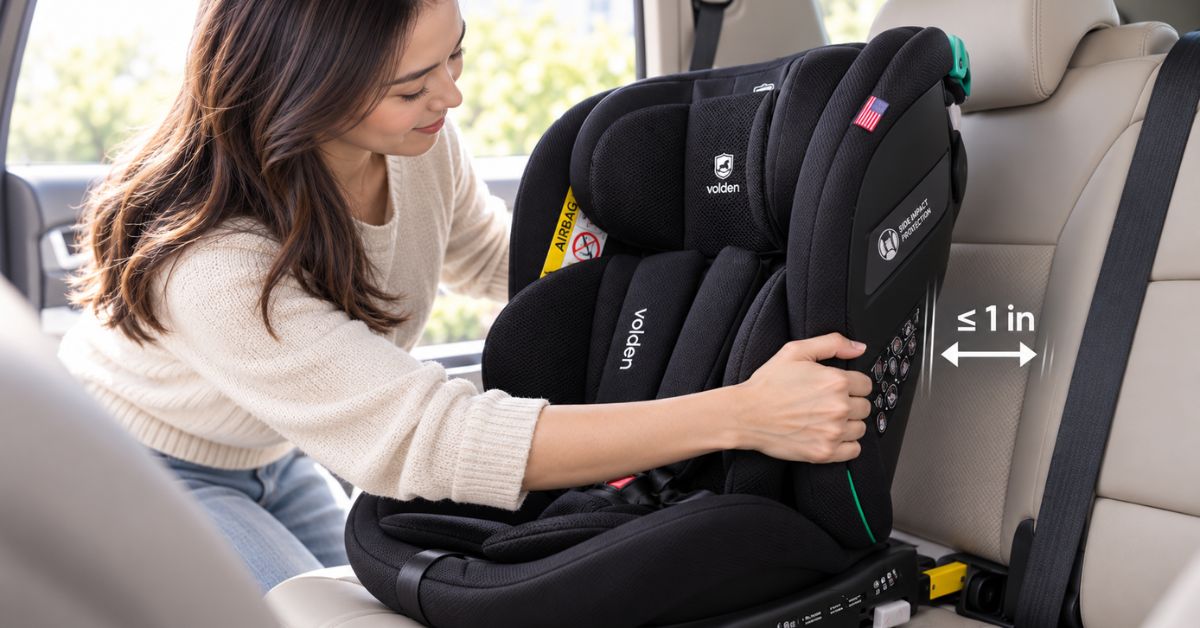
After installation, hold the car seat at the belt path and try moving it from side to side and front to back.
The seat should not move more than about 1 inch (2.5 cm) at the belt path.
There is no need to pull aggressively on the headrest or top of the car seat. Depending on the design, some movement in those areas may be normal.
If the seat moves too much at the belt path, uninstall it and tighten the installation again.
A securely installed car seat is only part of the setup. The child must also be positioned and restrained correctly.
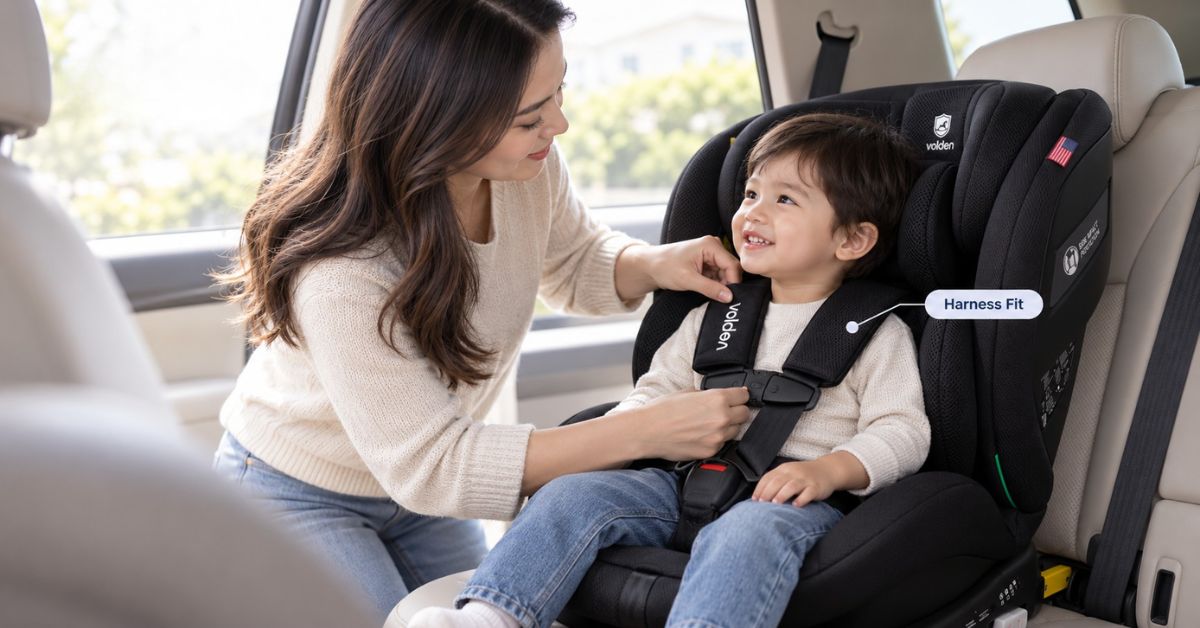
The harness straps should:
Parents can use the pinch test at the child’s shoulder. If you can easily pinch a fold of harness webbing between your fingers, the harness may still be too loose.
If the car seat has a chest clip, position it at approximately armpit level, unless the manufacturer provides different instructions.
Thick winter coats or bulky clothing can create extra space between the harness and the child’s body.
If your child needs extra warmth, secure the harness properly first, then place a blanket or coat over the child when appropriate.
For rear-facing car seat installation, focus on three key areas:
Do not use towels, pillows, or other objects to change the recline angle unless the car seat manufacturer specifically allows it.
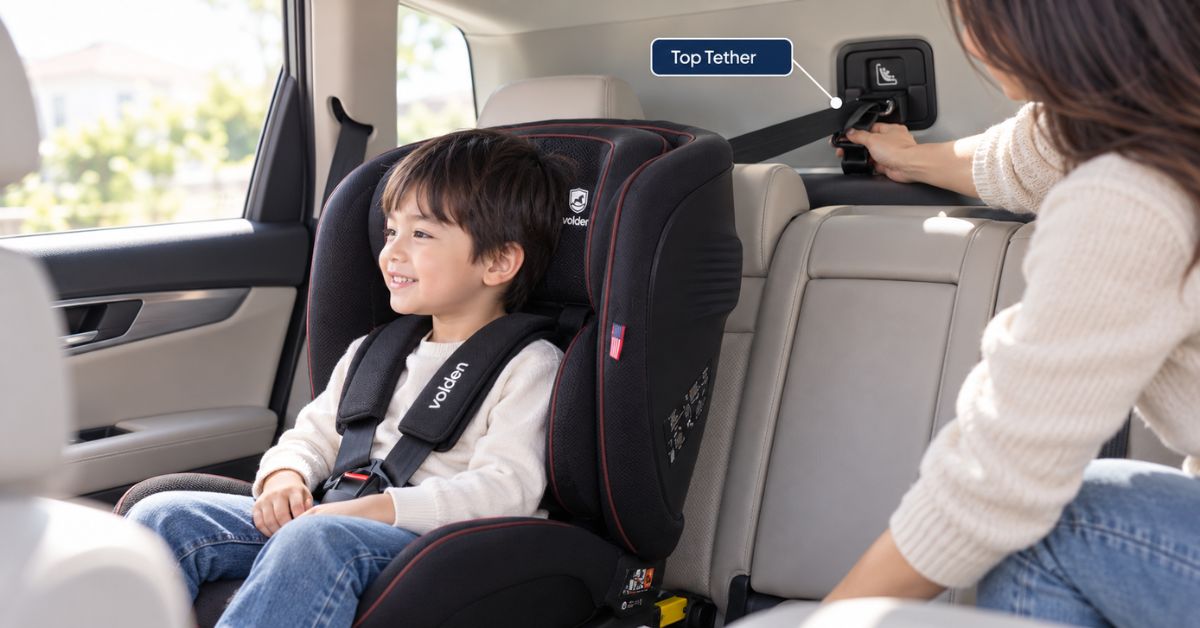
Installing a forward-facing car seat with LATCH or a vehicle seat belt follows many of the same basic steps, but special attention should be given to the Top Tether.
The Top Tether typically connects the back of the car seat to the vehicle’s designated tether anchor. It helps limit forward movement of the upper portion of the car seat.
Do not attach the Top Tether to a random metal bar or any location that simply looks like an anchor point. Check the vehicle owner’s manual for the correct tether anchor symbol and location.
Parents should recheck the installation if they notice any of the following:
Parents should also avoid modifying the car seat, drilling additional holes, or altering the harness system. Changes to the original structure may affect how the seat performs under crash forces.
Proper car seat installation does not require a complicated process, but every step matters. A car seat can perform as intended only when it is securely installed, positioned in the correct direction, and properly adjusted for the child.
With a long-term focus on engineering, innovation, and child safety solutions in the United States, Volden USA is committed to helping families access products designed with quality, reliability, and everyday usability in mind. When using a Volden car seat, parents should always follow the instructions provided with the specific model to ensure proper car seat installation for their vehicle and their child’s stage of development.